How to: The curves on ns2_fusion
Mouse The Lighter Side of Pessimism Join Date: 2002-03-02 Member: 263Members, NS1 Playtester, Forum Moderators, Squad Five Blue, Reinforced - Shadow, WC 2013 - Shadow
 The Lighter Side of Pessimism Join Date: 2002-03-02 Member: 263Members, NS1 Playtester, Forum Moderators, Squad Five Blue, Reinforced - Shadow, WC 2013 - Shadow
in Mapping
ns2_fusion is full of curves. A reoccurring question I get asked is how were they made. So I'm finally getting around to a tutorial.
The finished product: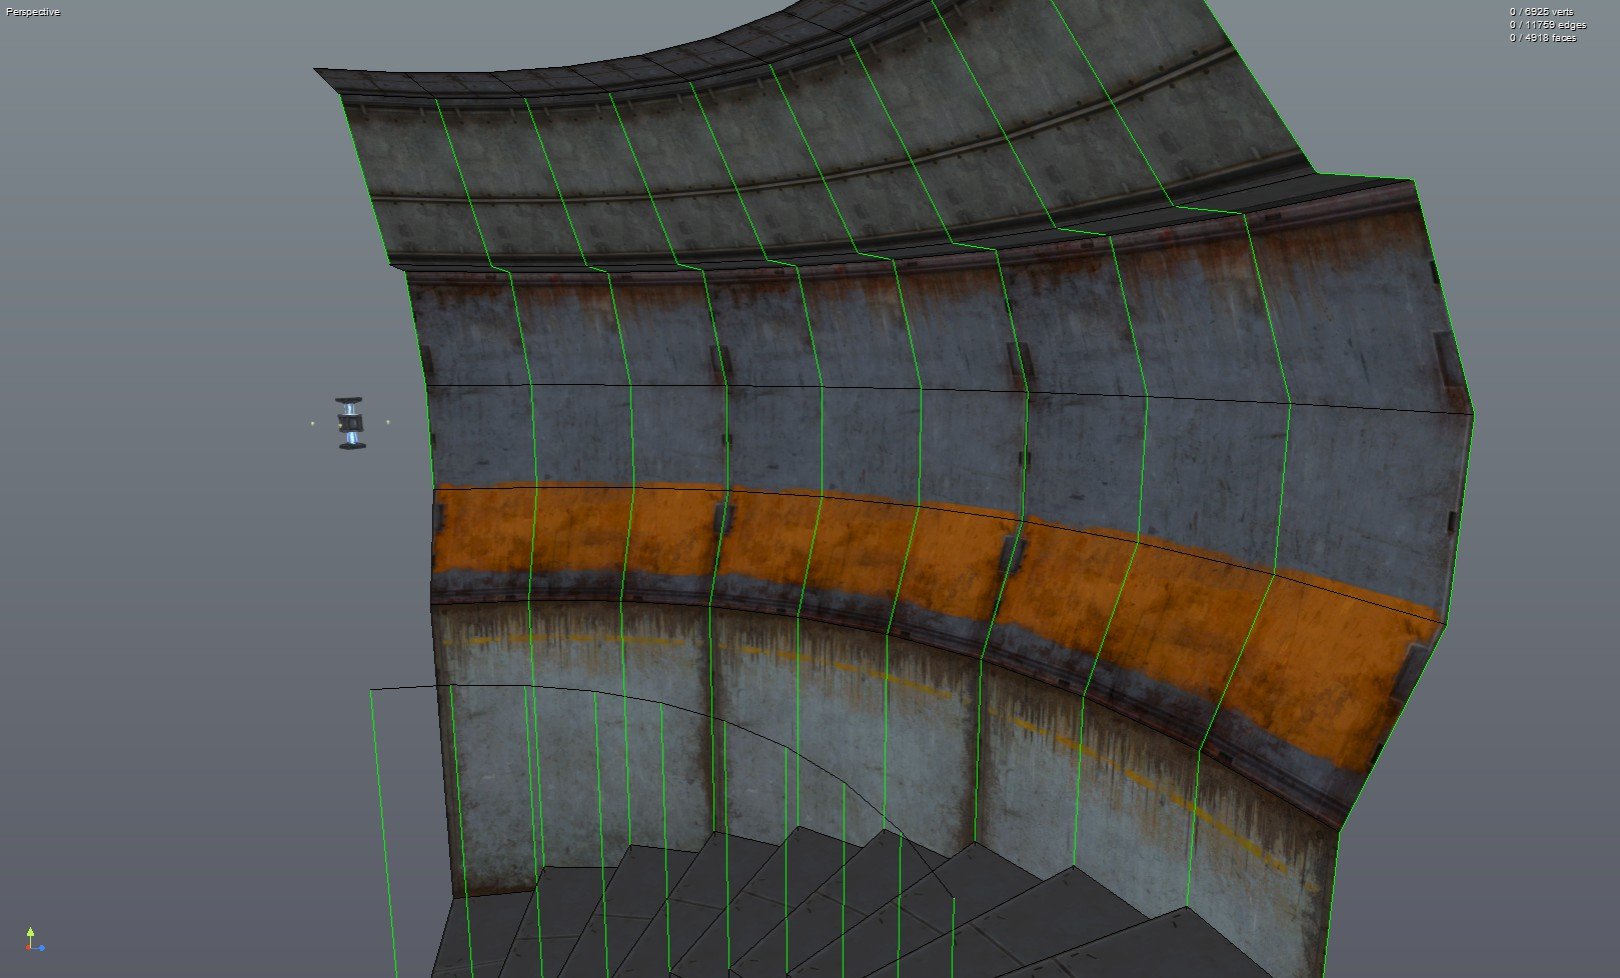
1. Use lines to map out a cross section for the hallway.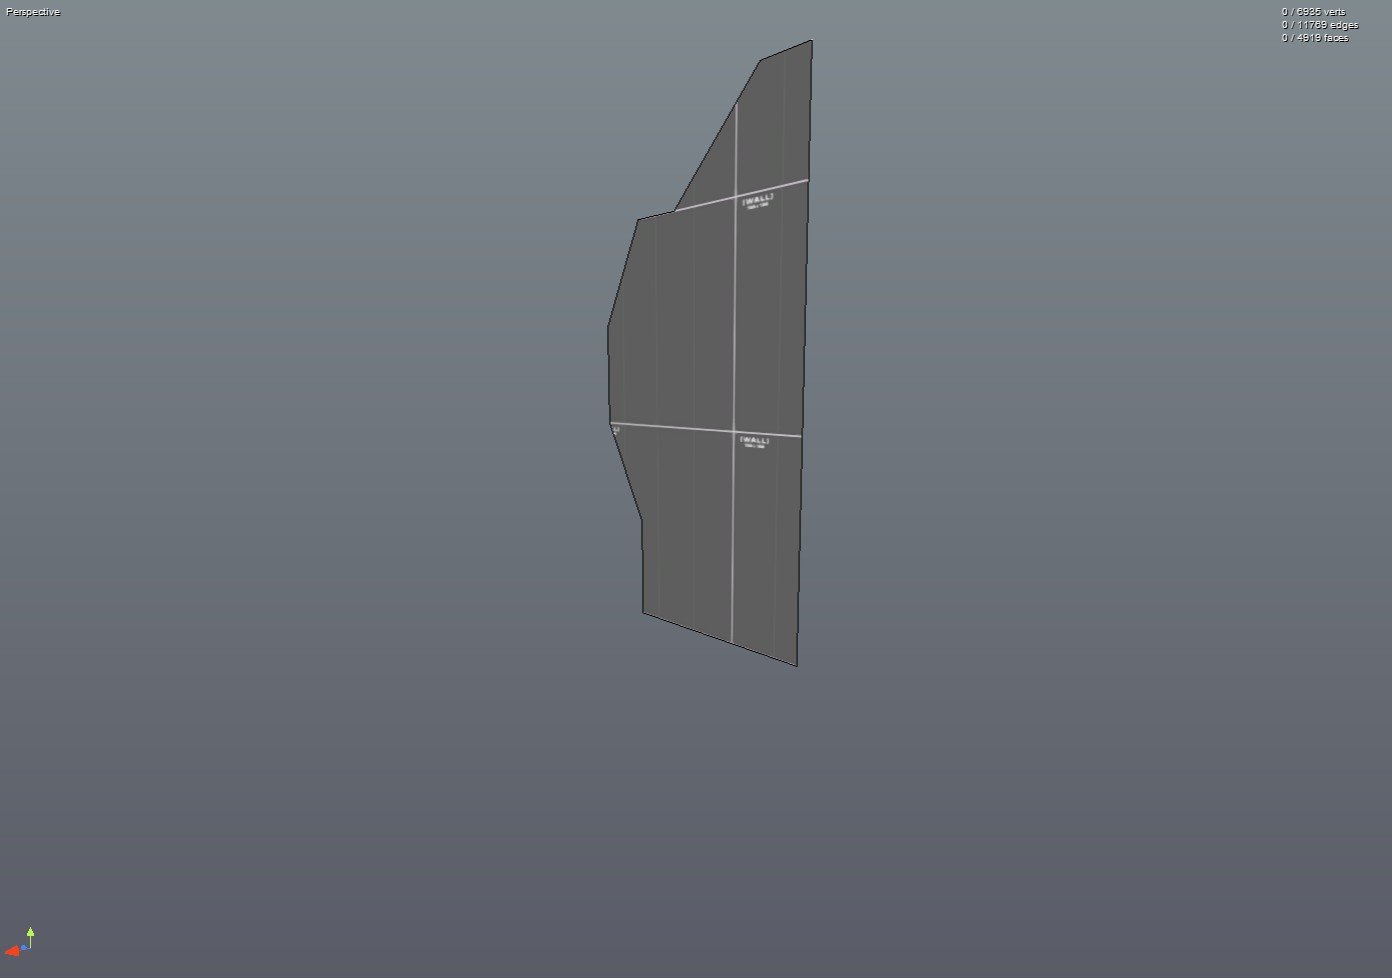
2. Add a line from the inner edge of the cross section to a point away from it. This will be the inner radius of the curve.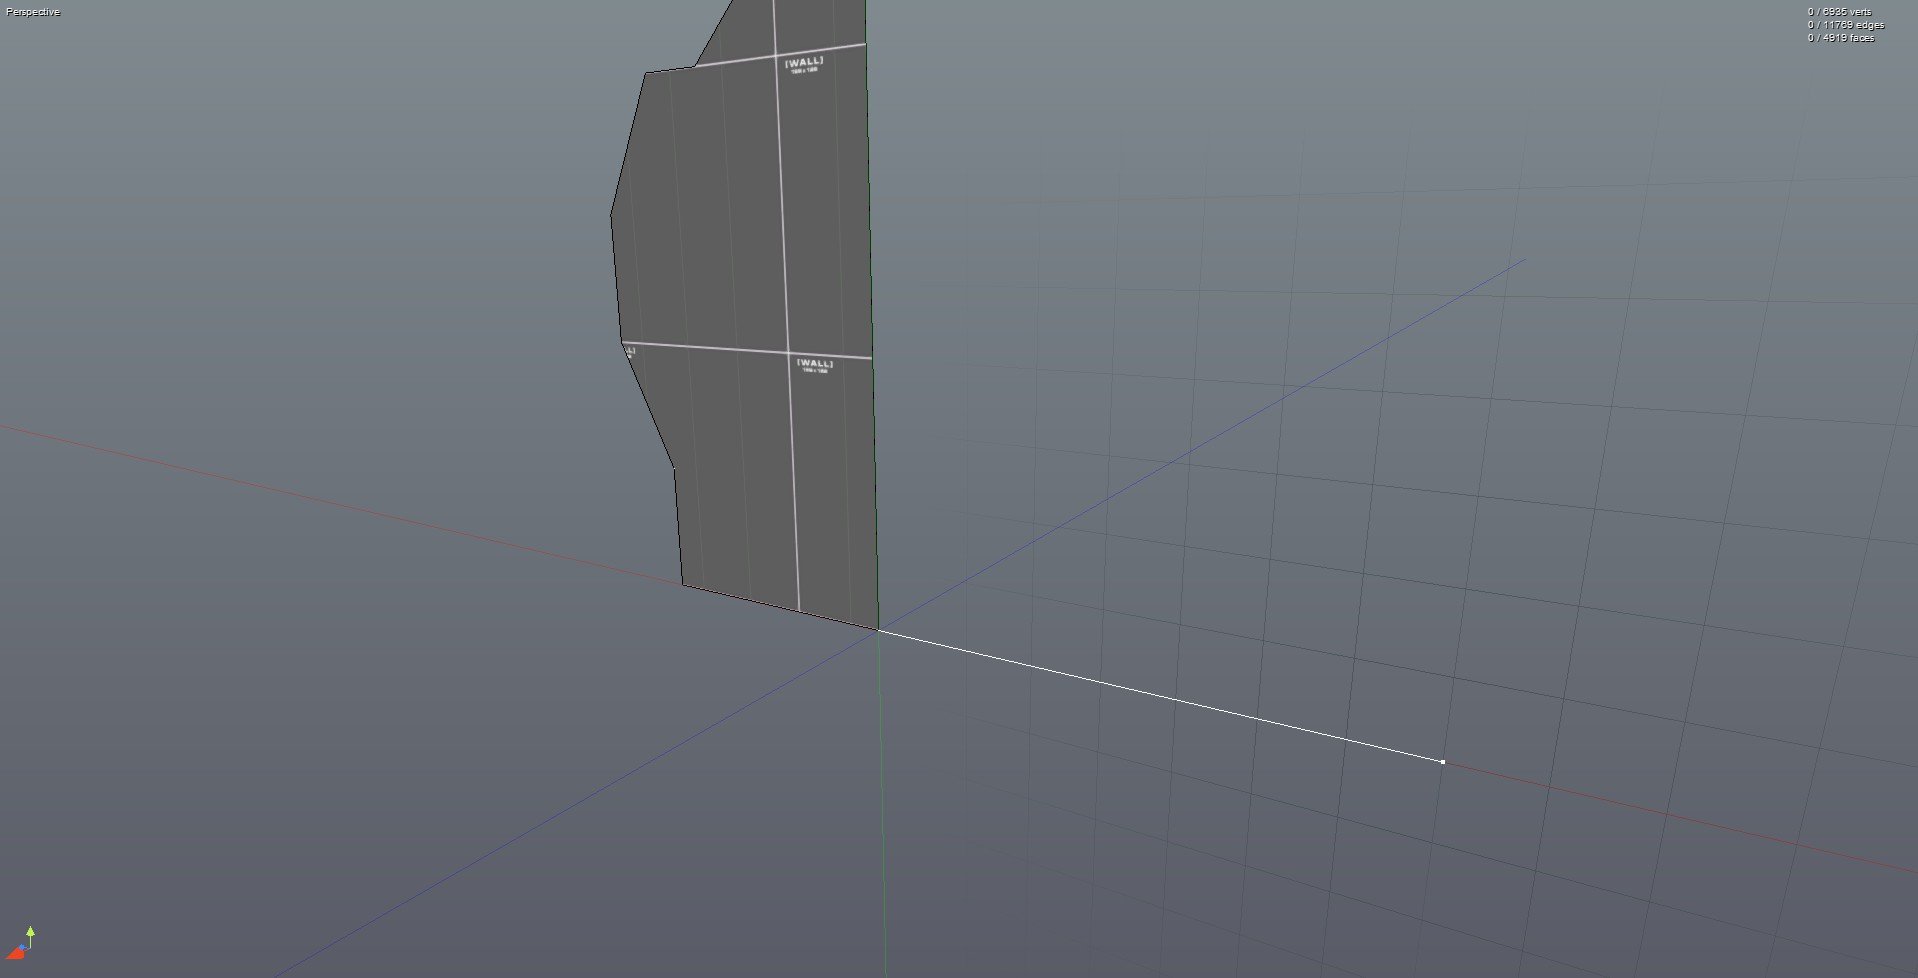
3. Extrude the cross section and make sure that there's another radius line attached to the new cross section face.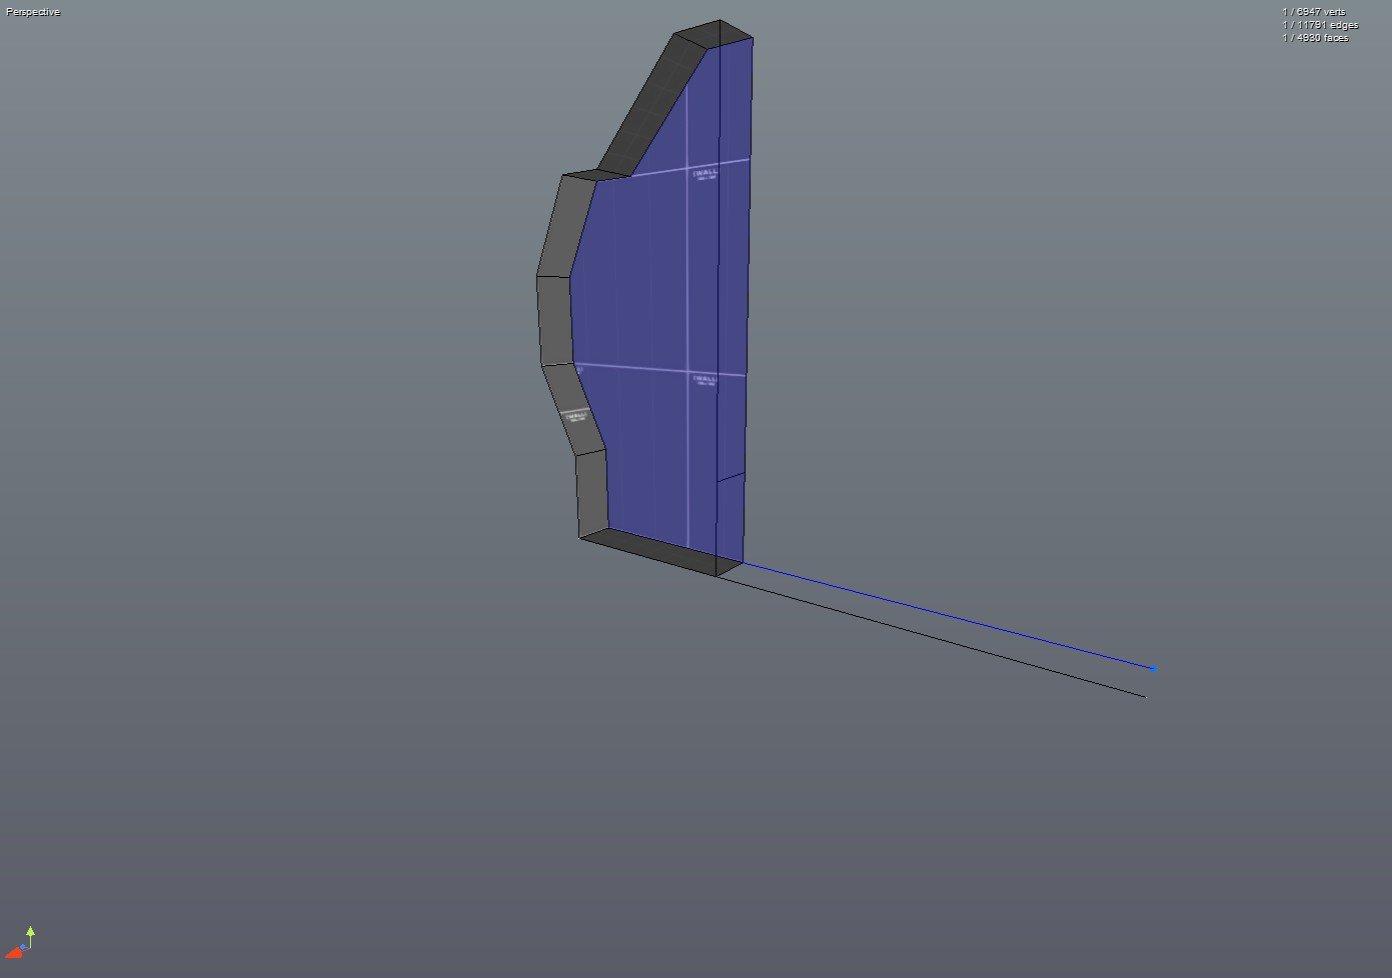
4. Select the face of this new cross section, the radius line next to it, and then rotate them (I used 15 degrees here).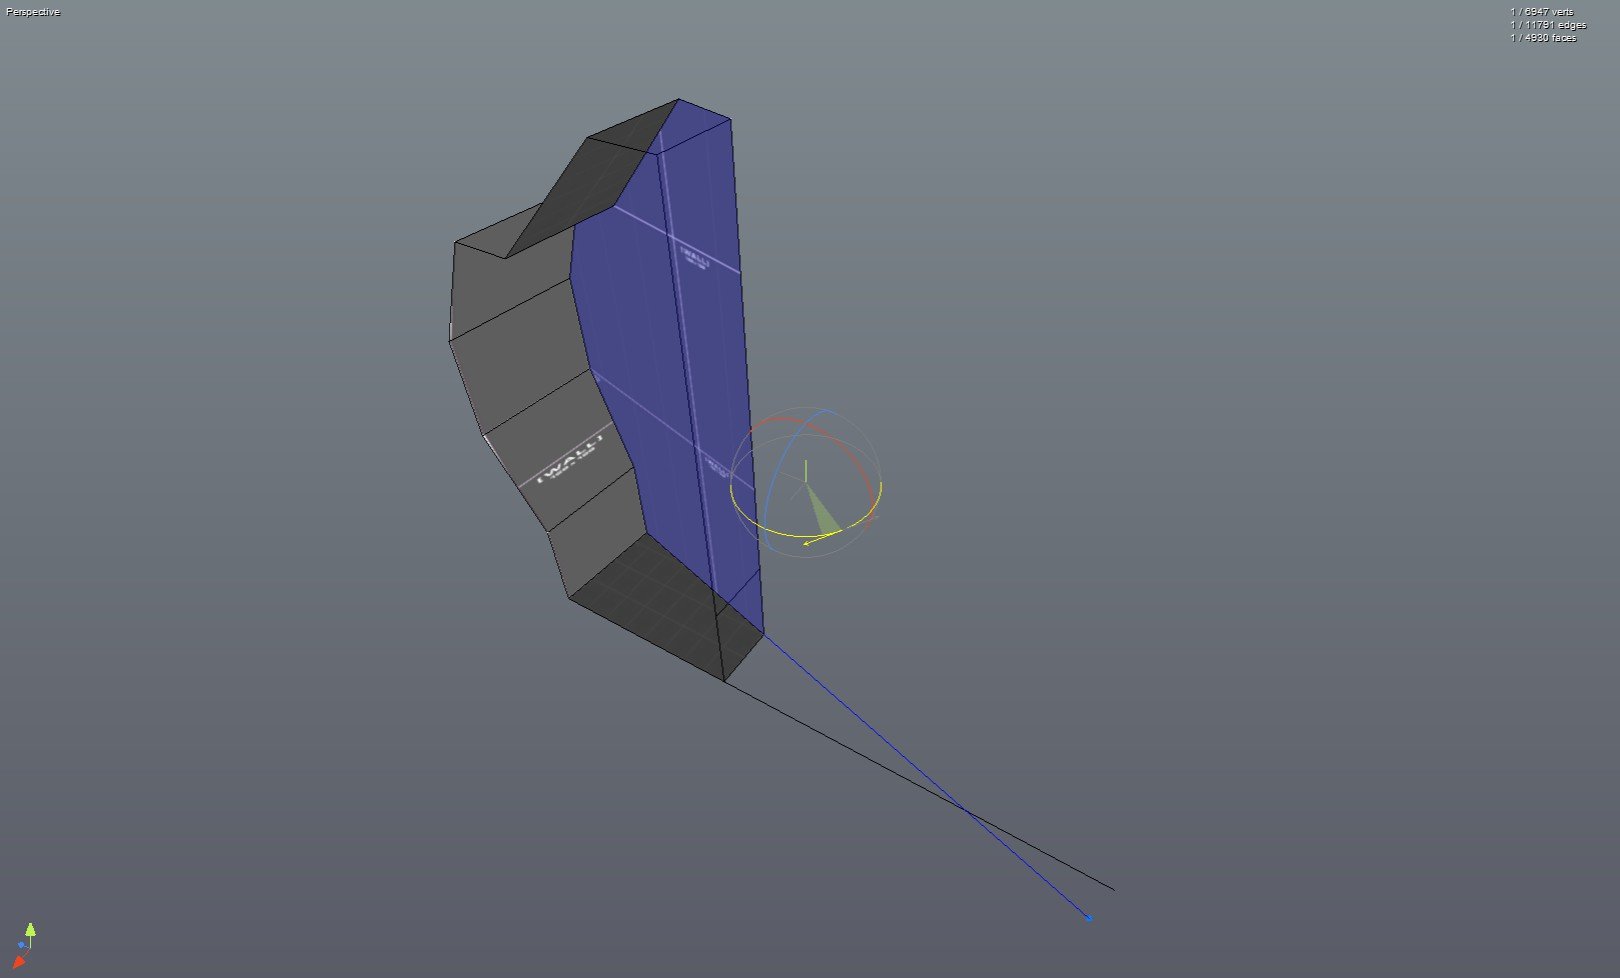
5. While keeping the rotated part selected, select the vertex on the end of the radius line. Then drag this vertex to the vertex at the end of the initial radius line. Now you have the 'mold' for a segment of the curve and an origin for it's arc (the point at the end of the 2 radius lines).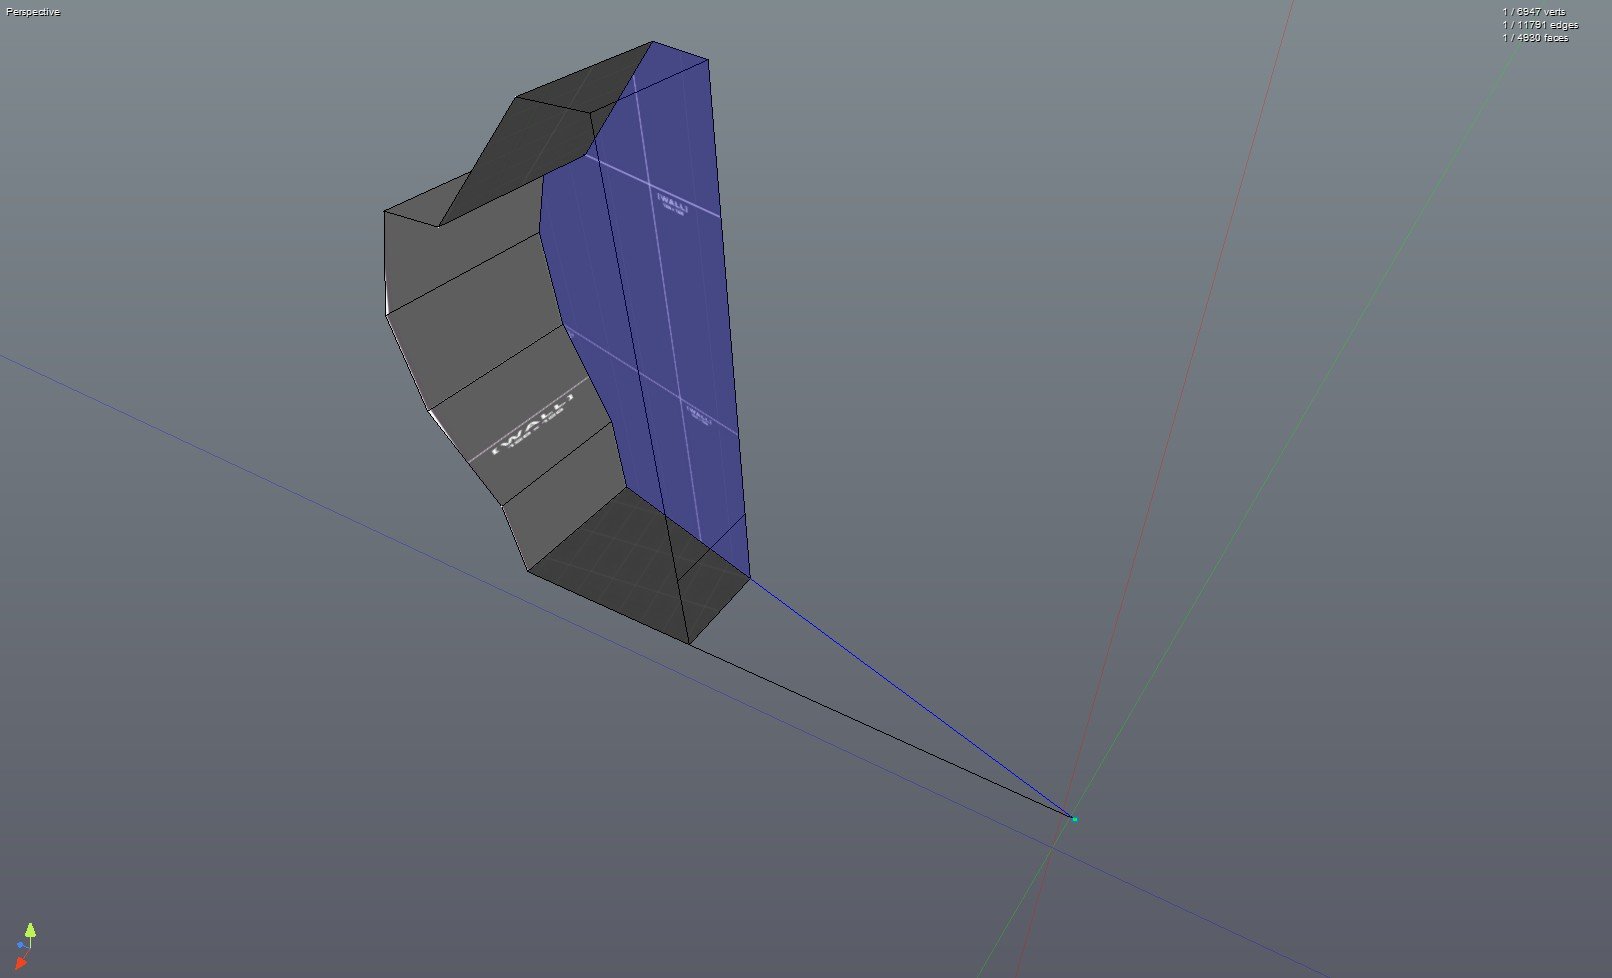
6. Delete any unwanted faces from the segment.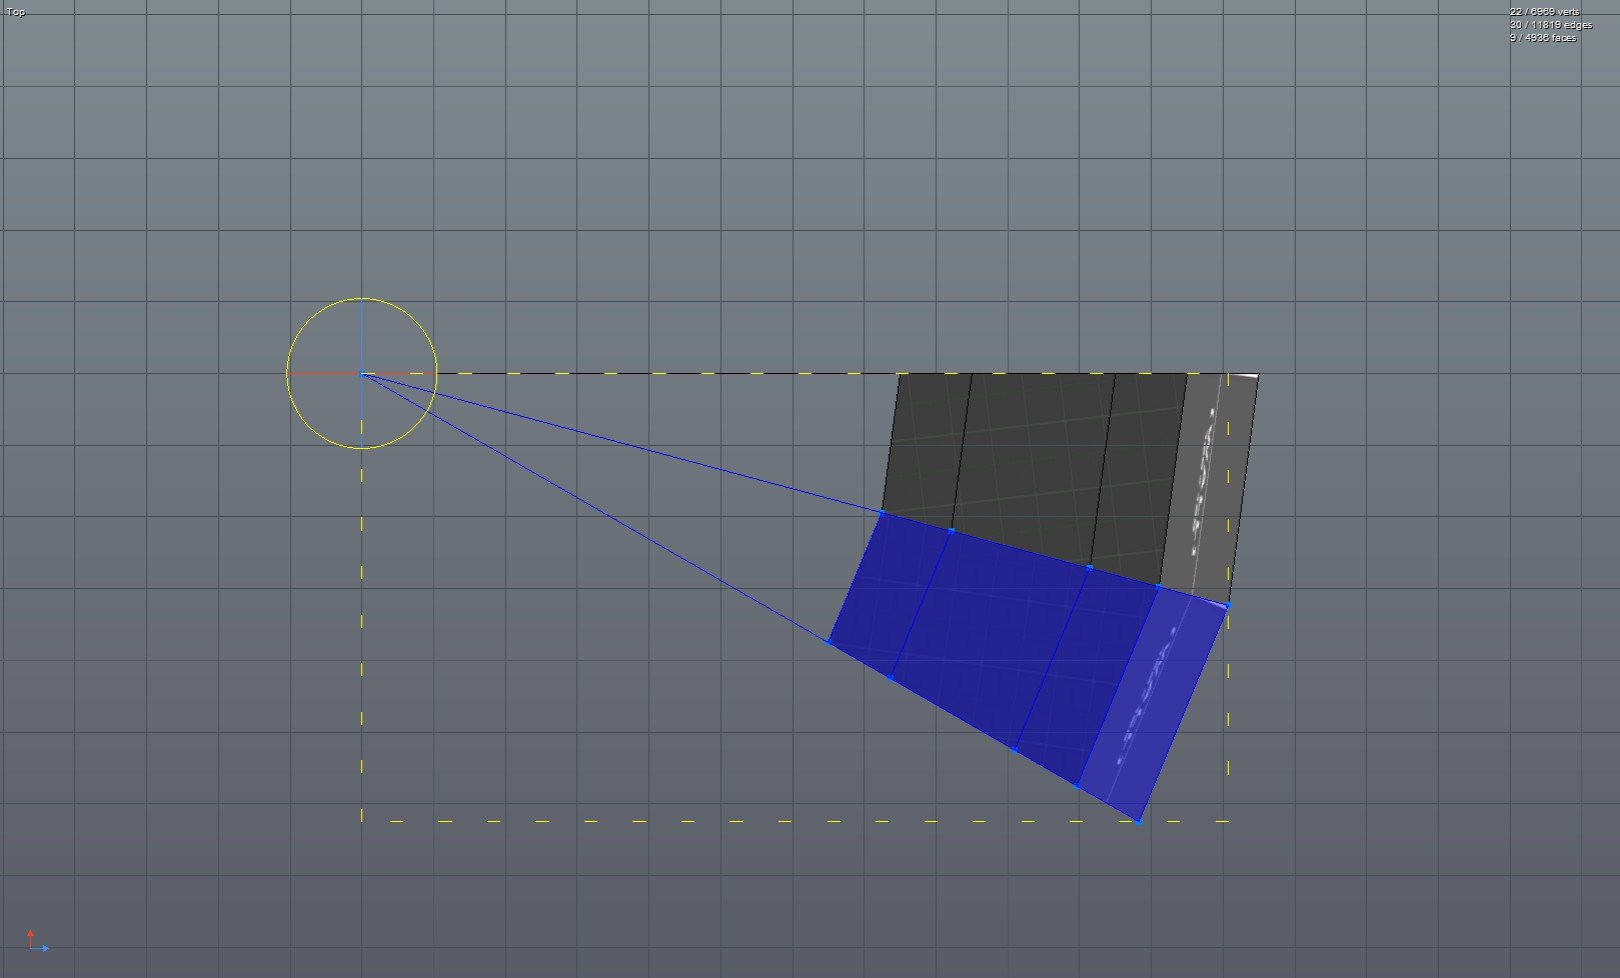
7. Duplicate the segment and rotate it (I used 15 degrees here). Make sure that the origins for the 2 segments are overlapping.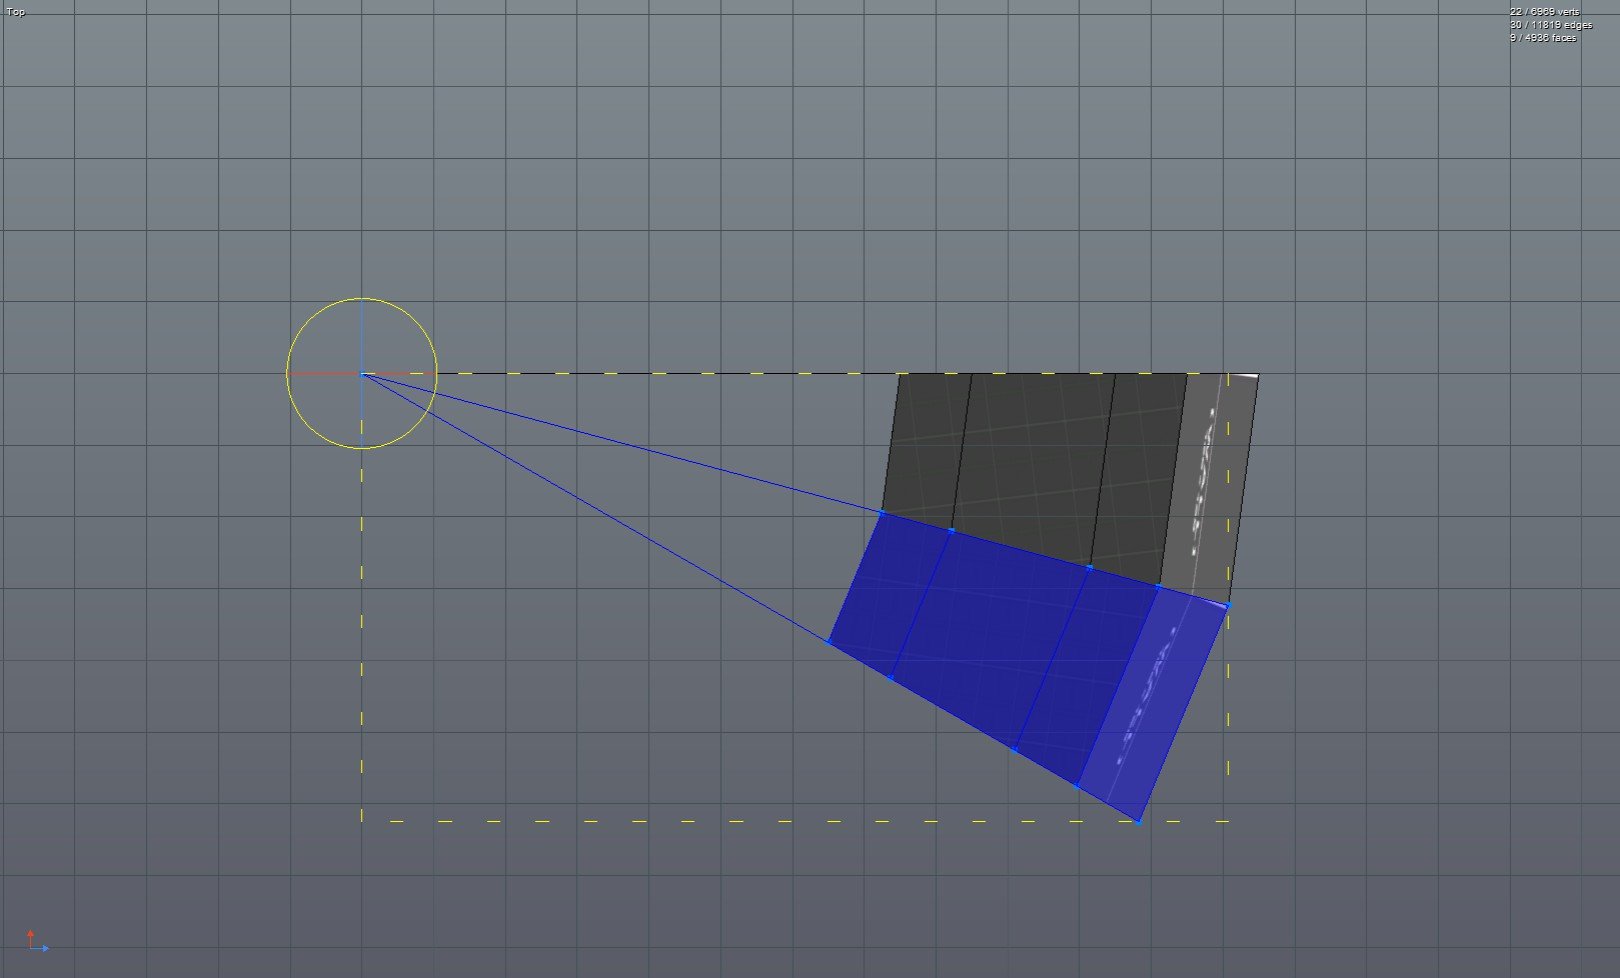
8. Duplicate and rotate.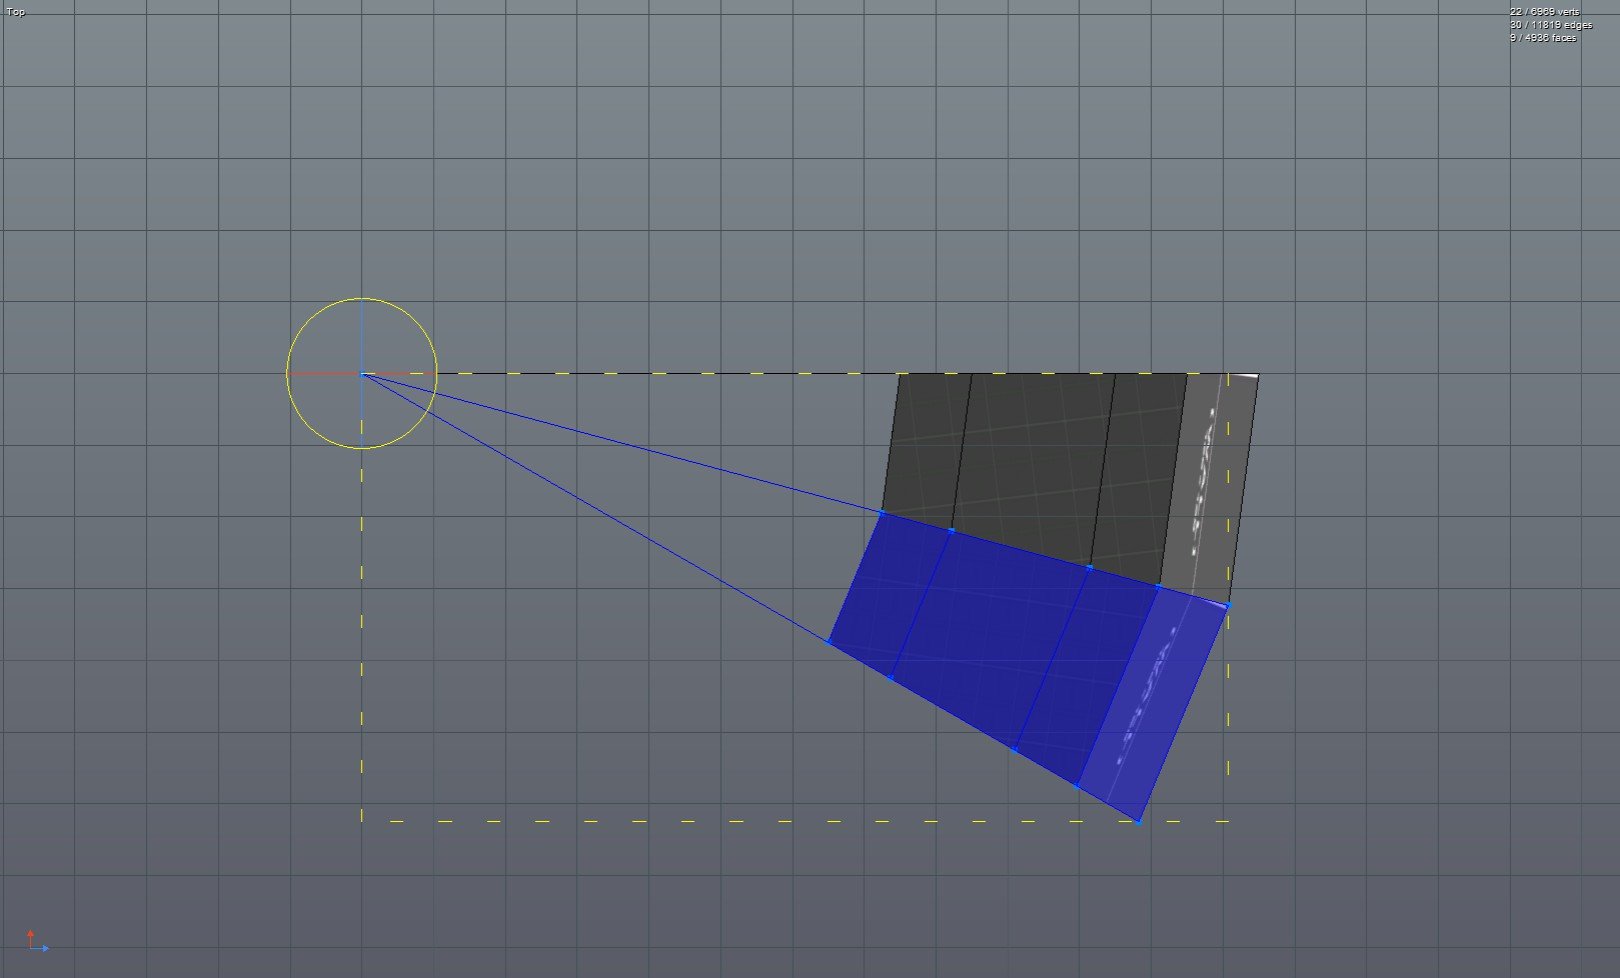
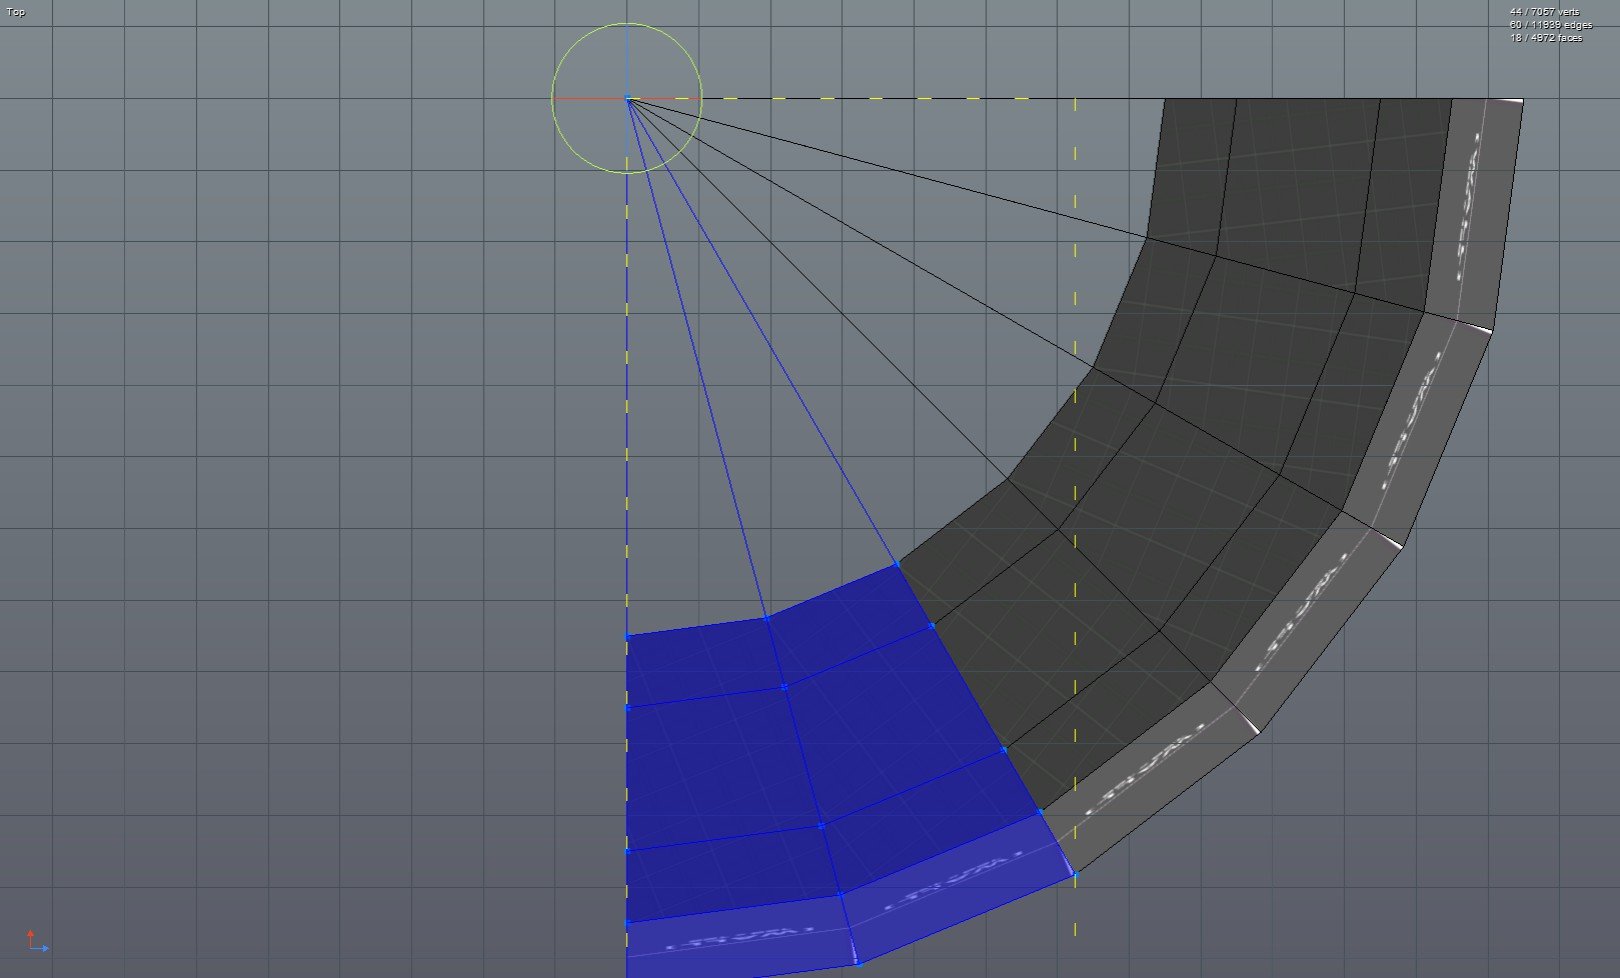
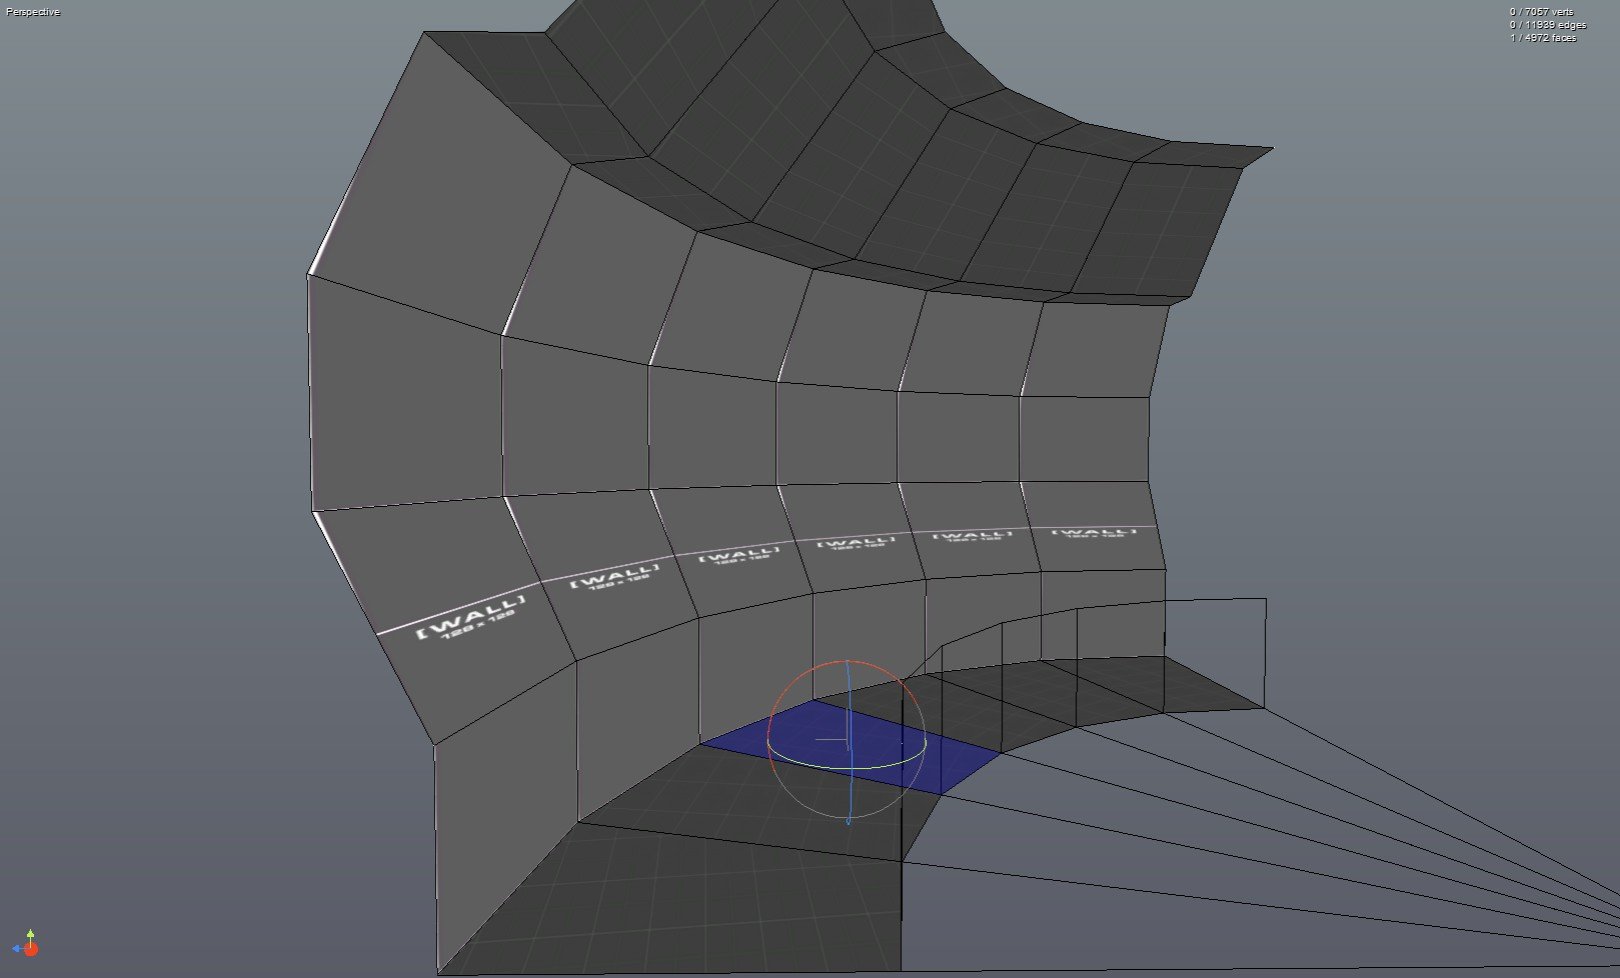
That's the main process but in this case I wanted to add some stairs, so I progressively lowered the floor of each segment.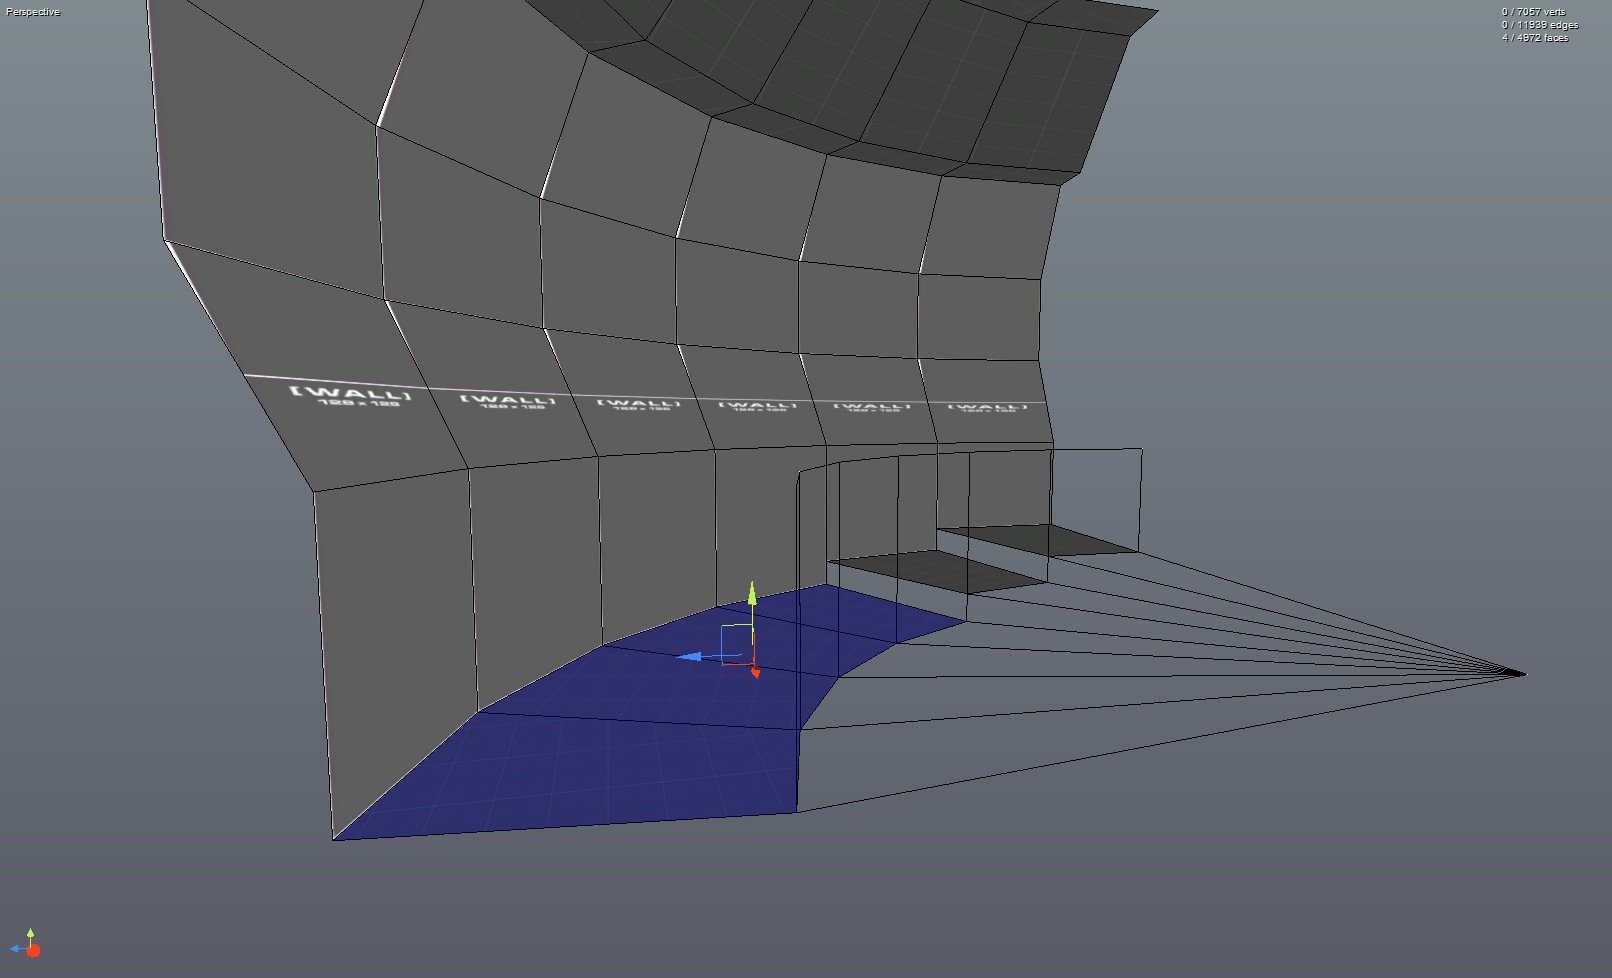
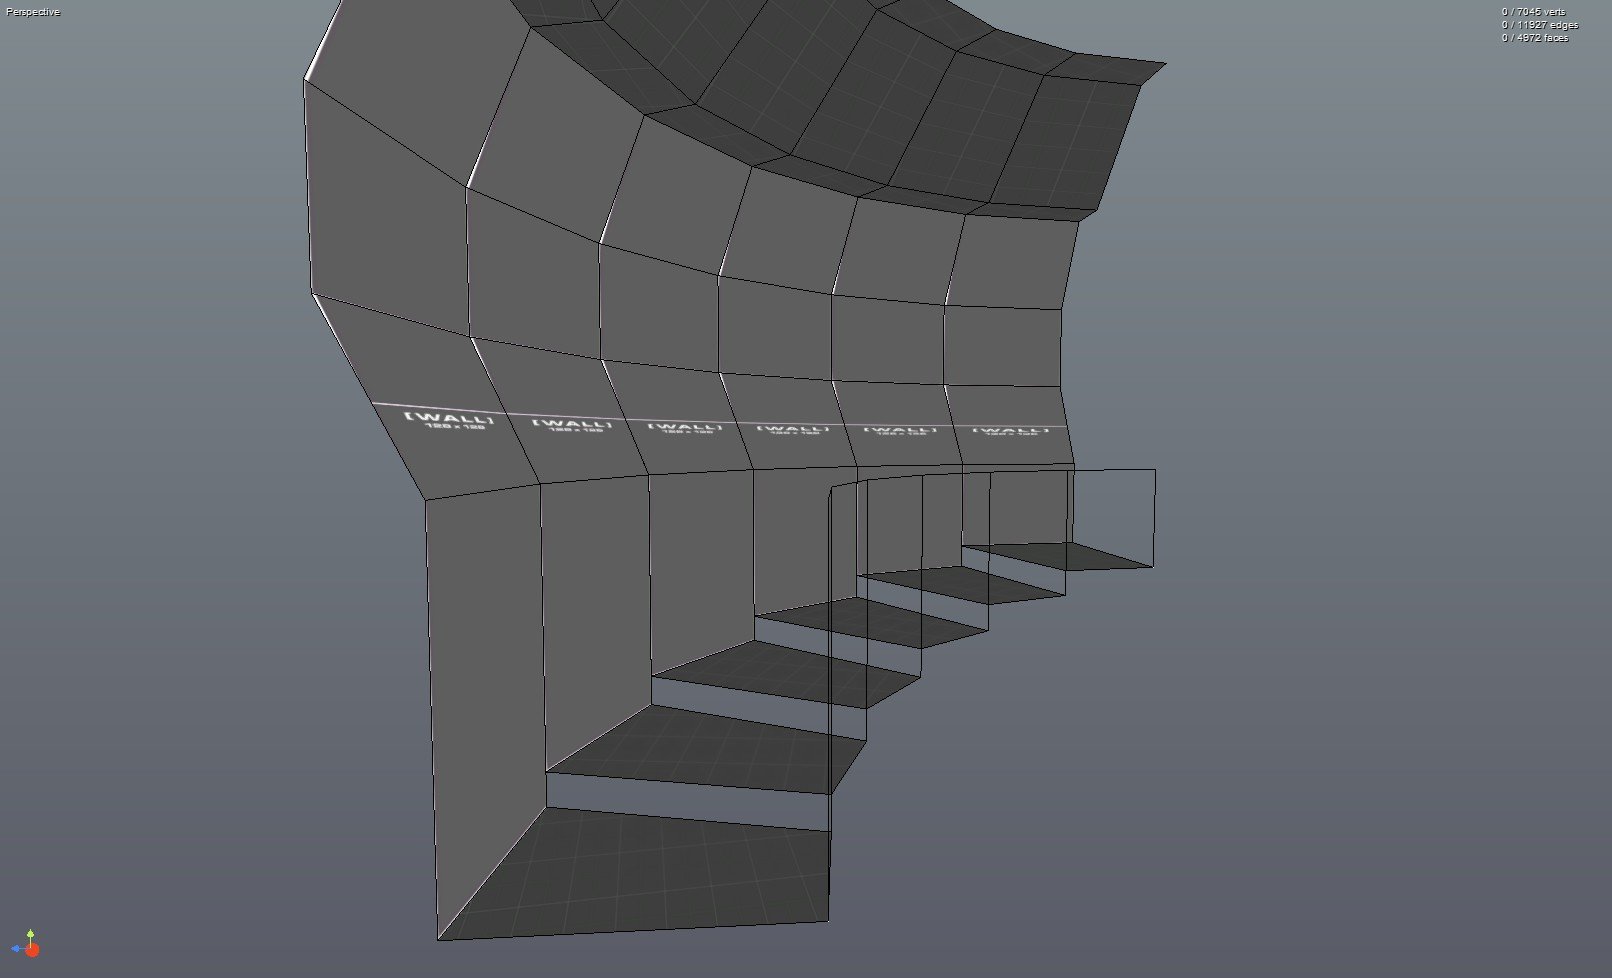
If you want to add variation to the curve, make different versions of the default segment.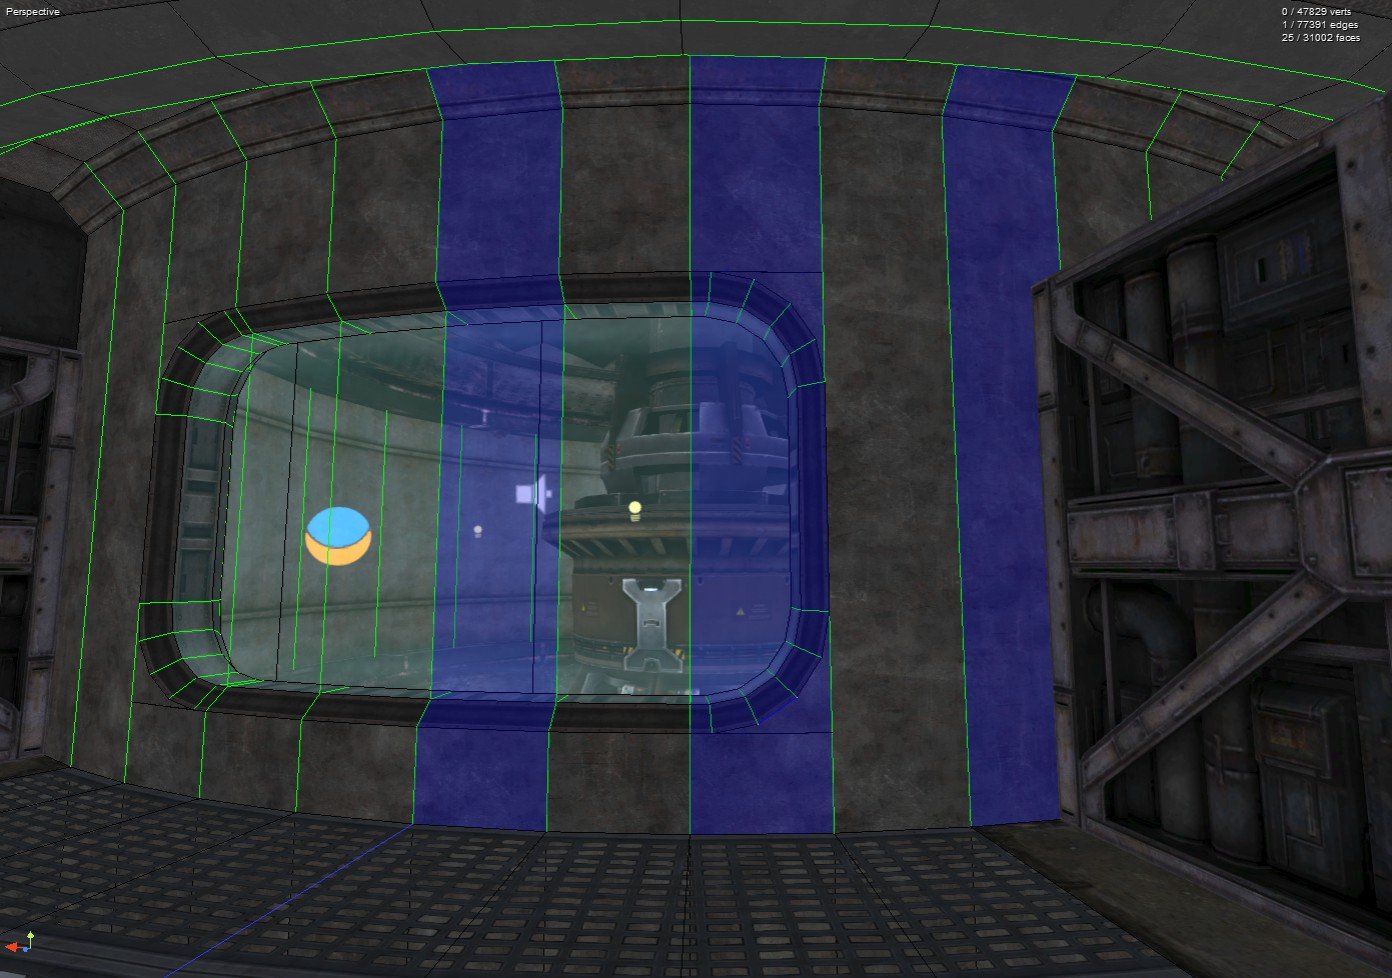
The finished product:

1. Use lines to map out a cross section for the hallway.

2. Add a line from the inner edge of the cross section to a point away from it. This will be the inner radius of the curve.

3. Extrude the cross section and make sure that there's another radius line attached to the new cross section face.

4. Select the face of this new cross section, the radius line next to it, and then rotate them (I used 15 degrees here).

5. While keeping the rotated part selected, select the vertex on the end of the radius line. Then drag this vertex to the vertex at the end of the initial radius line. Now you have the 'mold' for a segment of the curve and an origin for it's arc (the point at the end of the 2 radius lines).

6. Delete any unwanted faces from the segment.

7. Duplicate the segment and rotate it (I used 15 degrees here). Make sure that the origins for the 2 segments are overlapping.

8. Duplicate and rotate.


That's the main process but in this case I wanted to add some stairs, so I progressively lowered the floor of each segment.


If you want to add variation to the curve, make different versions of the default segment.

Comments
Profile extruded along a curve
Using the extrude tool for complex (curved) geometry
How to create rounded turns
Also I created those tutorials like 6 years ago, so a few steps might not be necessary anymore or there could be better ways (like texture alignment).
Rudy's links should've really been in my post in the Miss the good o'l days, alongside @Bry's FTP link. I'm sad that readryoom.org is gone