Picture frames for navigation [resource spoilers] [document attached]
FlamingChickenWings Netherlands Join Date: 2017-10-27 Member: 233751Members
A little while ago I realised you can put pretty much any image you want in a picture frame if you just put it in the screenshots folder.
After spamming my base with pictures of cats, loved ones and lord Gaben, I started thinking about a good use for this magnificent power.
I have been playing this save a while and started to get a little tight on storage space, so I decided to use this as a means of organizing my base.
I liked the result, and I've attached the photoshop file to this post for anyone wanting to do the same (as well as a little tutorial on how to use it. Scroll down for that :P ).
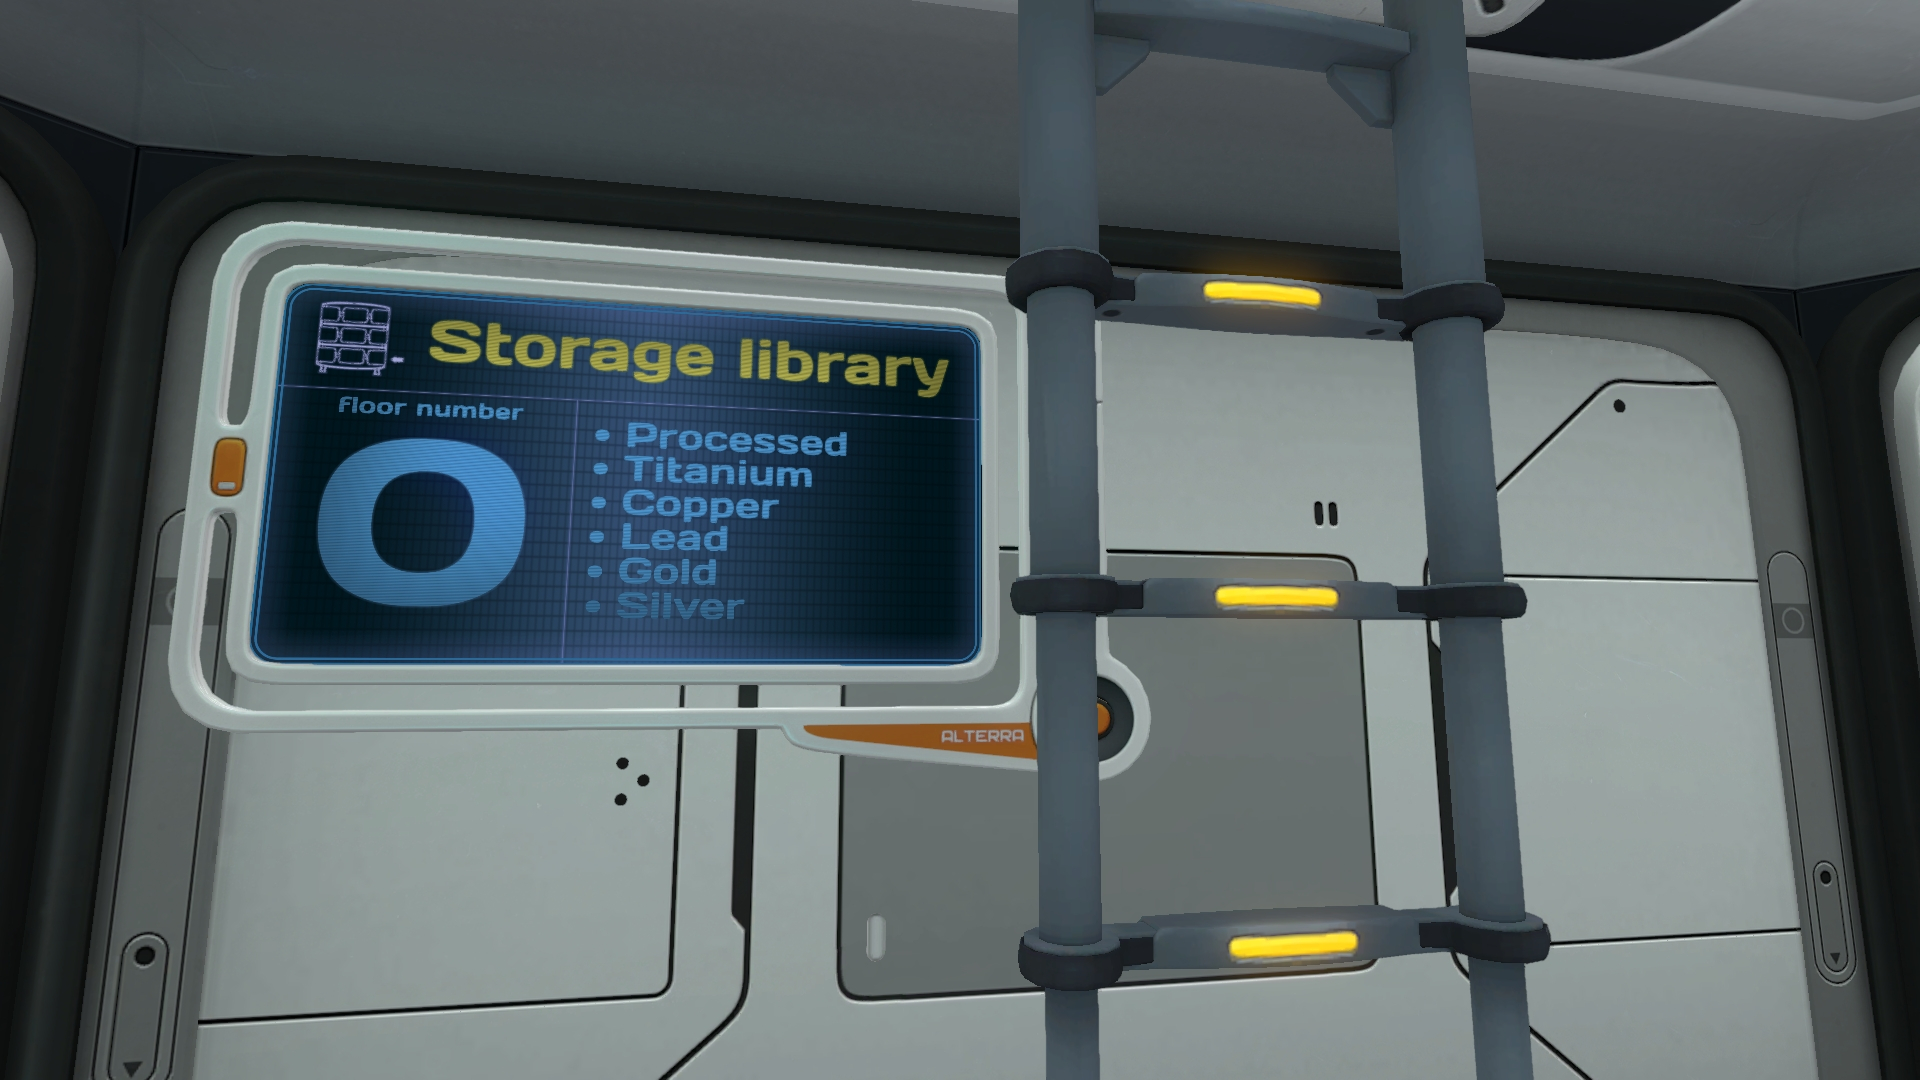
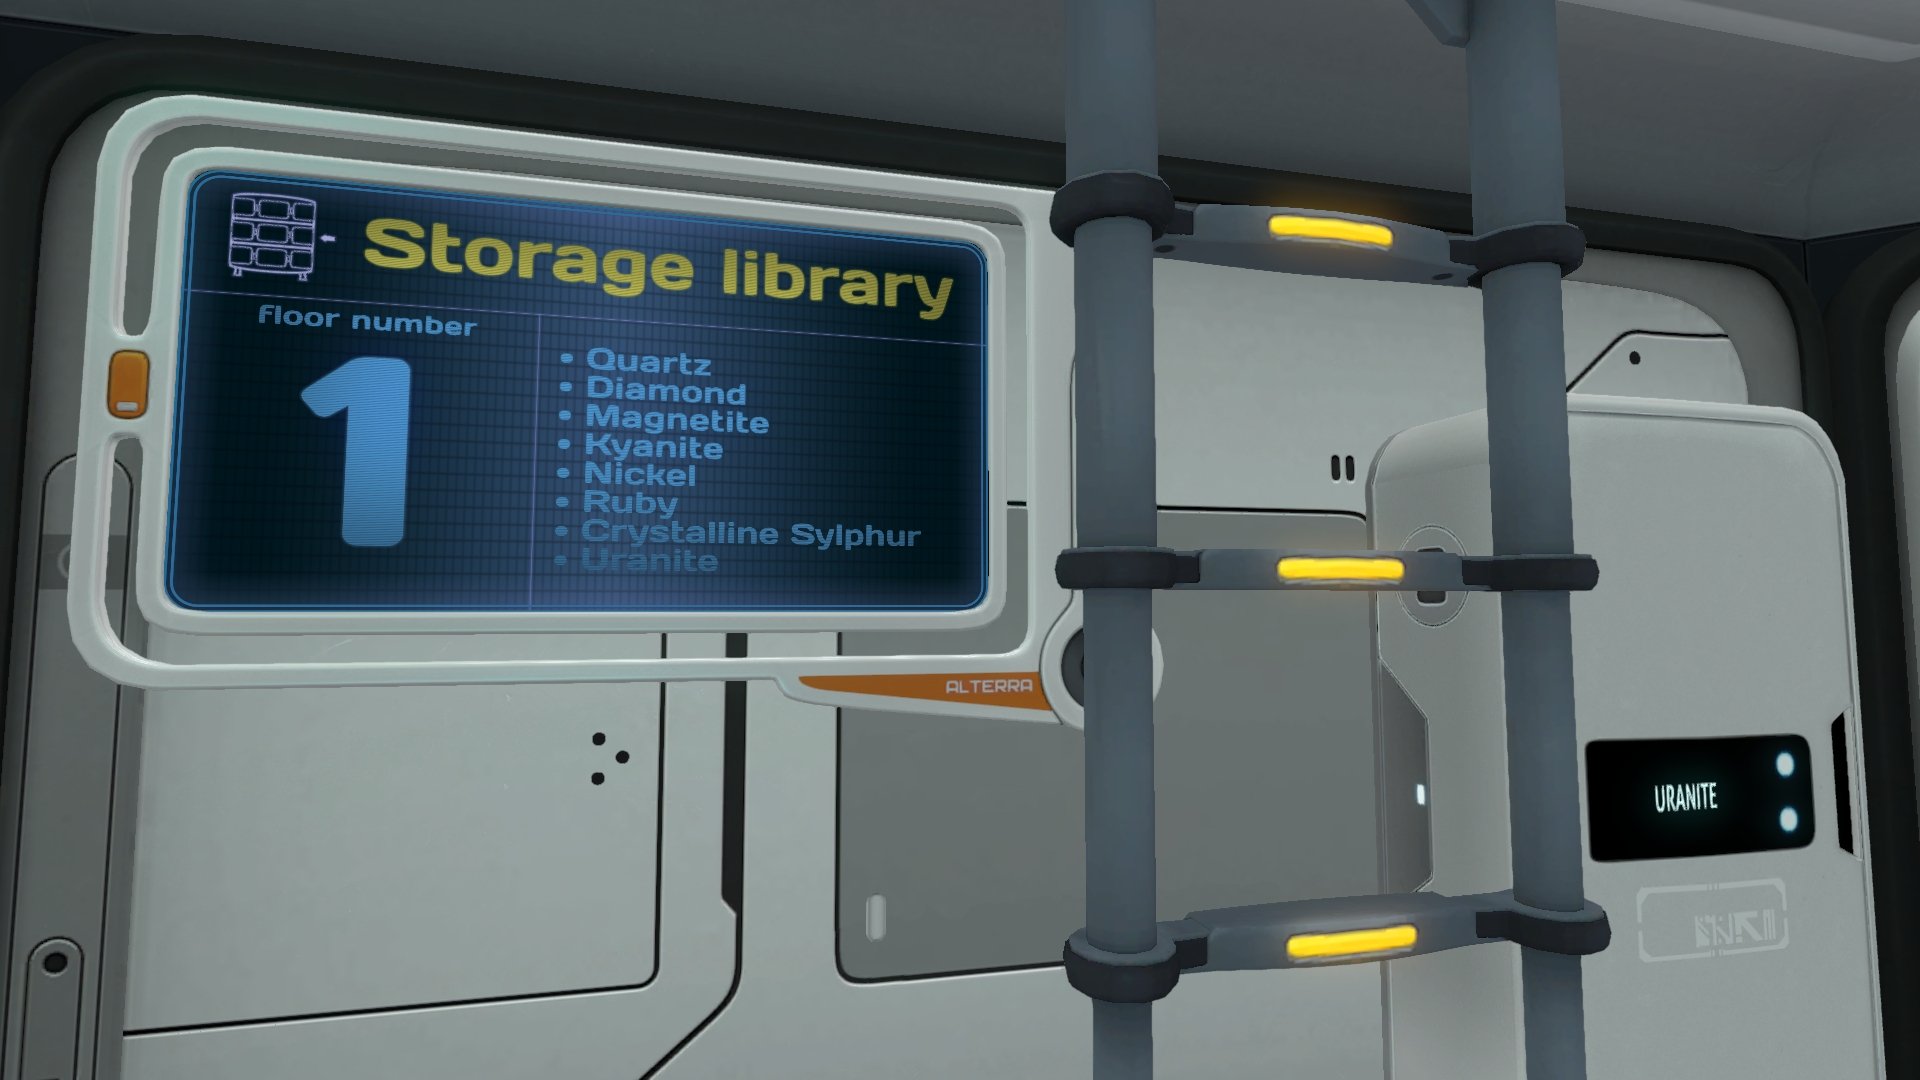
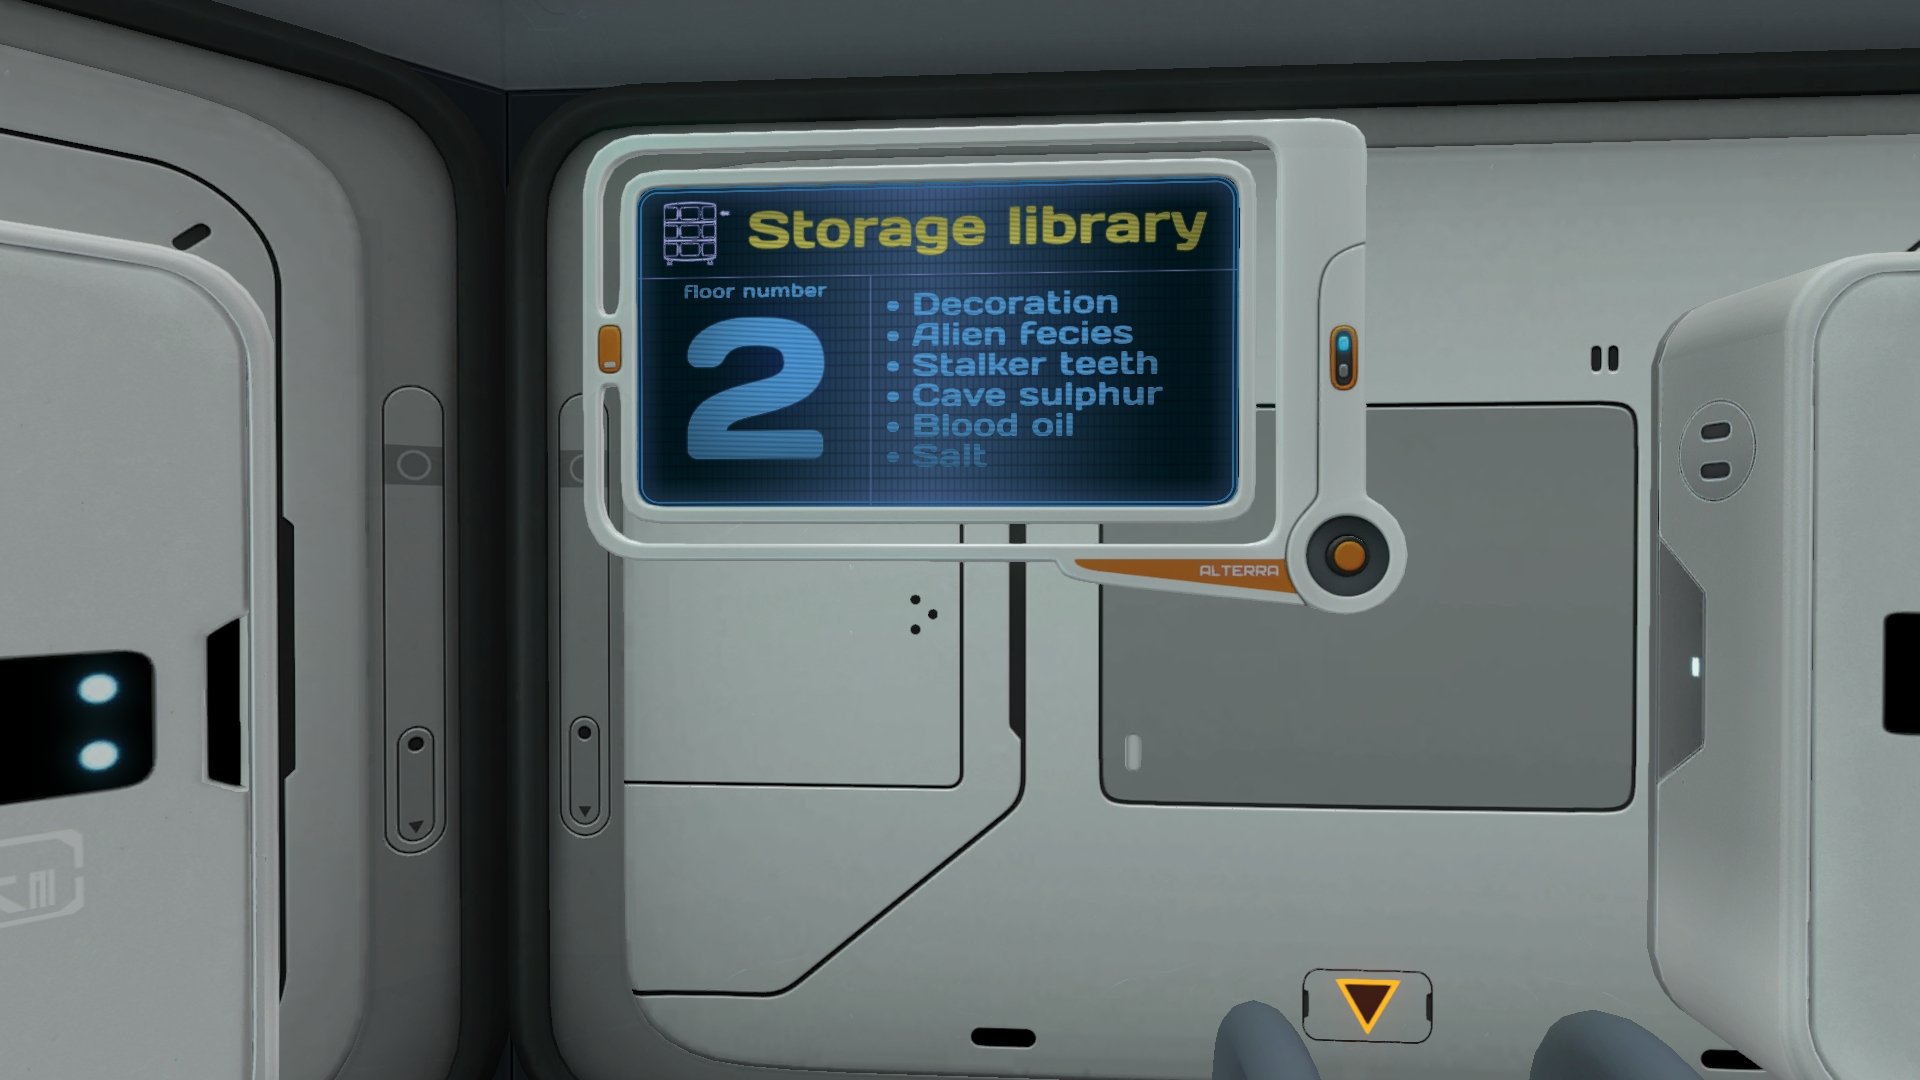
Then I started to use it for my terrarium and docks as well:
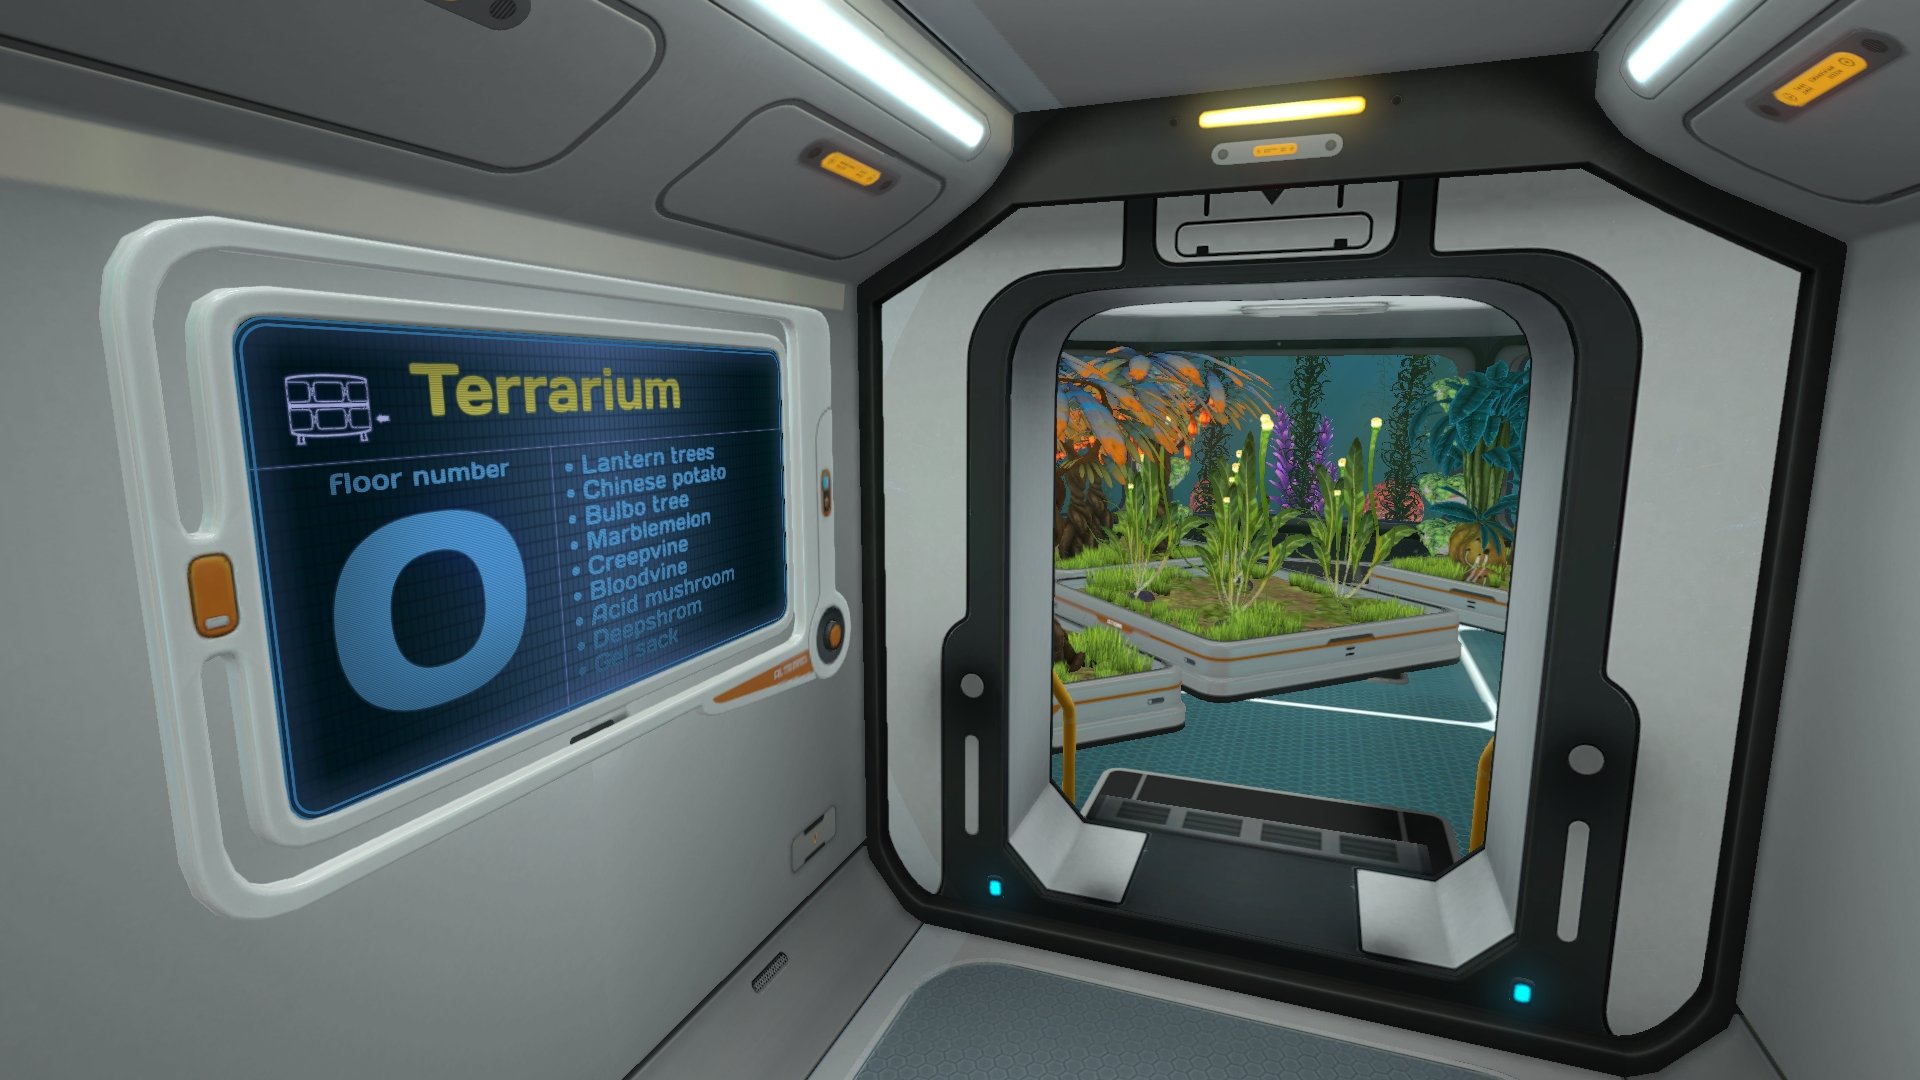
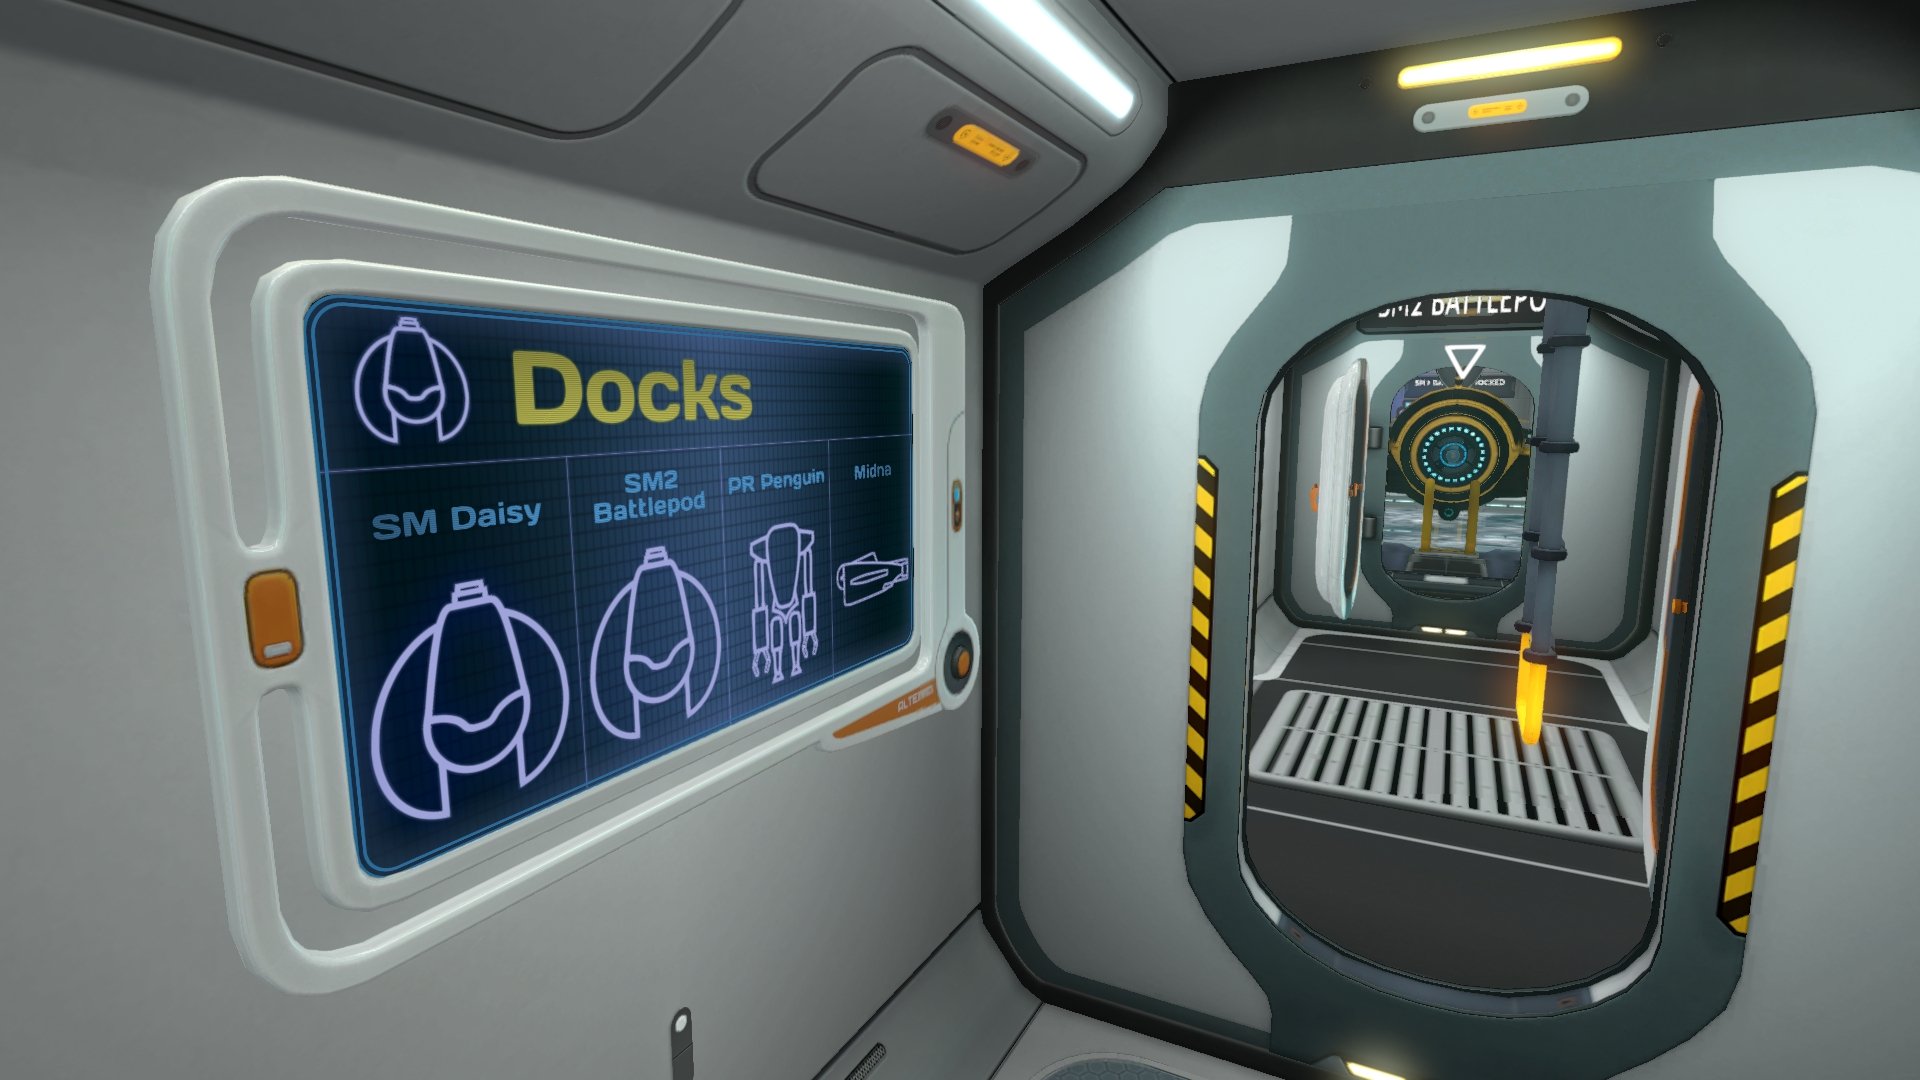
I thought the whole thing was pretty neat, so I spent quite a bit of time setting up a Photoshop document so other people could try it out for themselves.
I made this in Photoshop CC 19, so if you're having trouble you might have to update first.
How to make these things yourself:
A little tutorial on the document: I locked everything you don't really need to interact with to keep things organized and idiot proof (no offense, internet).
- The folder "Text elements" contains all the text (title, floor number, contents). You don't really have to enter this folder, you can just use the text tool to edit what you want.
For those who don't know, I made the little dots using alt code Alt + 7 (•).
- The little graphic on the left upper corner is adaptable by hiding or showing different layers. Those are all located under graphics > basepieces and graphics > arrows.
This document doesn't make the docks panel that I had, because that required a lot of modification and a few extra graphics. I can post that photoshop file too, if anyone is interested.
- If your list of contents doesn't fit, I found that resizing it's font from 80 to 60 adds a lot of extra space (that's what I did for my 1st floor).
- Then after you're done just save it as a Jpeg to the screenshot folder. The internet tells me it should be in your "C:/Program Files (x86)/Steam/steamapps/common/Subnautica/SNAppData/SavedGames/[slot for your game]/screenshots".
For me it was in "C:/Documents/SteamLibrary/steamapps/yadayadayada...". Try out either of those.
- You're gonna have to reload the save after that. Lucky you that I already went through the effort of making the corners fit and such :P
I've also got an illustrator document with all the icons I made for this that I could post if anyone's interested (cc 22).
Also if someone has any comments on how to organize a bunch of resources, feel free to let me know.
Also Also commentary on the document is welcome too.
Also Also Also let me know if anything in this 'tutorial' is unclear.
After spamming my base with pictures of cats, loved ones and lord Gaben, I started thinking about a good use for this magnificent power.
I have been playing this save a while and started to get a little tight on storage space, so I decided to use this as a means of organizing my base.
I liked the result, and I've attached the photoshop file to this post for anyone wanting to do the same (as well as a little tutorial on how to use it. Scroll down for that :P ).


Then I started to use it for my terrarium and docks as well:


I thought the whole thing was pretty neat, so I spent quite a bit of time setting up a Photoshop document so other people could try it out for themselves.
I made this in Photoshop CC 19, so if you're having trouble you might have to update first.
How to make these things yourself:
A little tutorial on the document: I locked everything you don't really need to interact with to keep things organized and idiot proof (no offense, internet).
- The folder "Text elements" contains all the text (title, floor number, contents). You don't really have to enter this folder, you can just use the text tool to edit what you want.
For those who don't know, I made the little dots using alt code Alt + 7 (•).
- The little graphic on the left upper corner is adaptable by hiding or showing different layers. Those are all located under graphics > basepieces and graphics > arrows.
This document doesn't make the docks panel that I had, because that required a lot of modification and a few extra graphics. I can post that photoshop file too, if anyone is interested.
- If your list of contents doesn't fit, I found that resizing it's font from 80 to 60 adds a lot of extra space (that's what I did for my 1st floor).
- Then after you're done just save it as a Jpeg to the screenshot folder. The internet tells me it should be in your "C:/Program Files (x86)/Steam/steamapps/common/Subnautica/SNAppData/SavedGames/[slot for your game]/screenshots".
For me it was in "C:/Documents/SteamLibrary/steamapps/yadayadayada...". Try out either of those.
- You're gonna have to reload the save after that. Lucky you that I already went through the effort of making the corners fit and such :P
I've also got an illustrator document with all the icons I made for this that I could post if anyone's interested (cc 22).
Also if someone has any comments on how to organize a bunch of resources, feel free to let me know.
Also Also commentary on the document is welcome too.
Also Also Also let me know if anything in this 'tutorial' is unclear.
Comments
Thanks for sharing the file!
By the way, I just realized that you need to install the proper Font to make this work.
The font is called "Days". I'm pretty sure it's the one Subnautica uses in the logo.
I wanted to edit the original, but the forum won't let me.
Again, I wish I could update the original post, but this works too hopefully